So, I’ve been tinkering with Raspberry Pi for quite some time. I finally came up with a DIY project that actually made sense to me.
But to tell the whole story, I need to back up a while. Several years ago, I received a digital picture frame for my birthday. It was small and looked very nice. It was very easy to use; load pictures to a SD card and turn on the device. Viola, instant pictures.
The device was good but not perfect:
- That device sat on the counter for years. Occasionally, like every three months, it might need to be rebooted.
- Sometimes, someone would see a picture scroll past and make a comment. By the time others look, that picture was long gone with no way to bring it up on demand.
- It would only show pictures. No internet. No intelligence.
One day I noticed the frame appeared to be turned off. This time it wouldn’t re-boot. I told Lynn leave it there; I’ll fix it later. One day, I noticed, it was gone. Of course, she tossed it; SD card and all.
This was an opportunity to put my tech skills to work!! I’ll build a Smarter Digital Picture Frame!!
My digital frame would show pictures; that’s easy. But it needed to be smarter and more valuable to the family and that meant internet connectivity. Enter the Raspberry Pi.
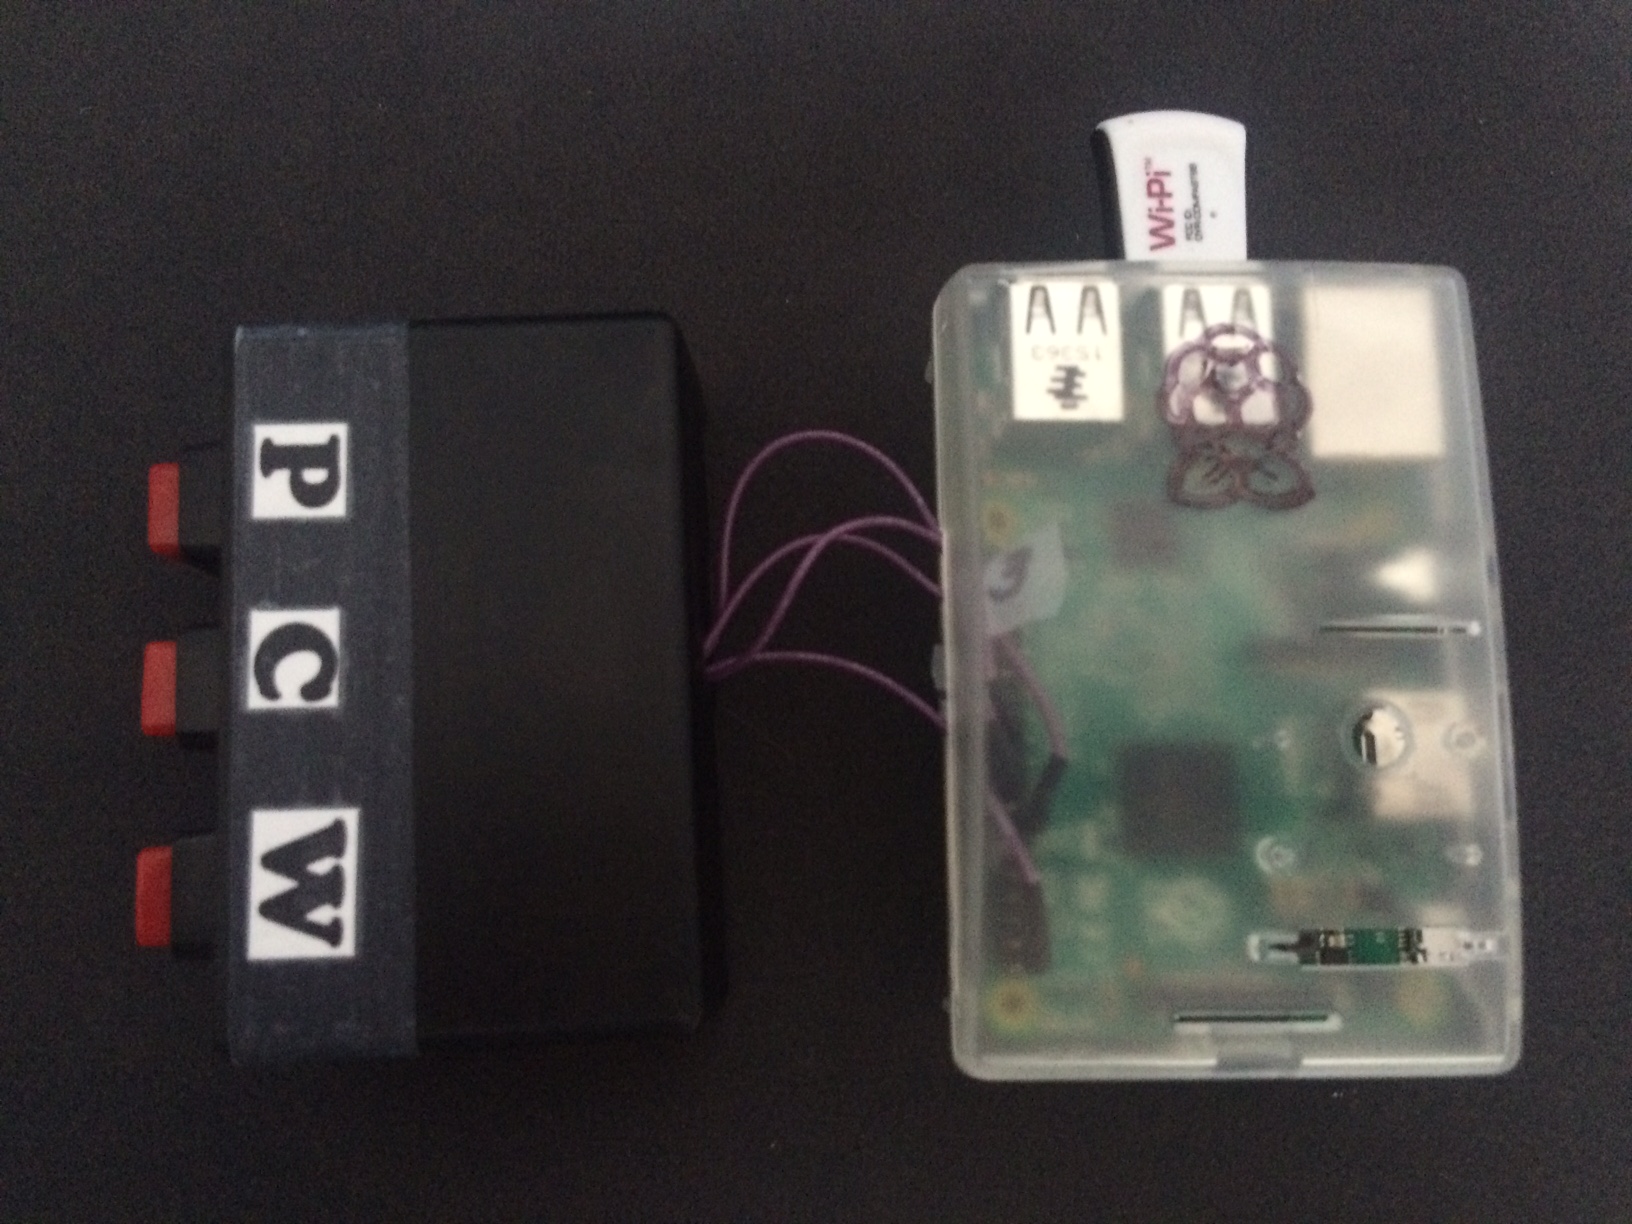
I decided my Smarter Digital Frame would be able to show the weather and the family calendar too. But it had to be brain dead simple to use. The first thing I needed was to make three buttons that the Pi could respond to.
- Weather – Open a browser to the Cincinnati weather.
- Calendar – Open a browser to the Family calendar on Google.
- Pictures – Of course, it needs to cycle through pictures all day long.
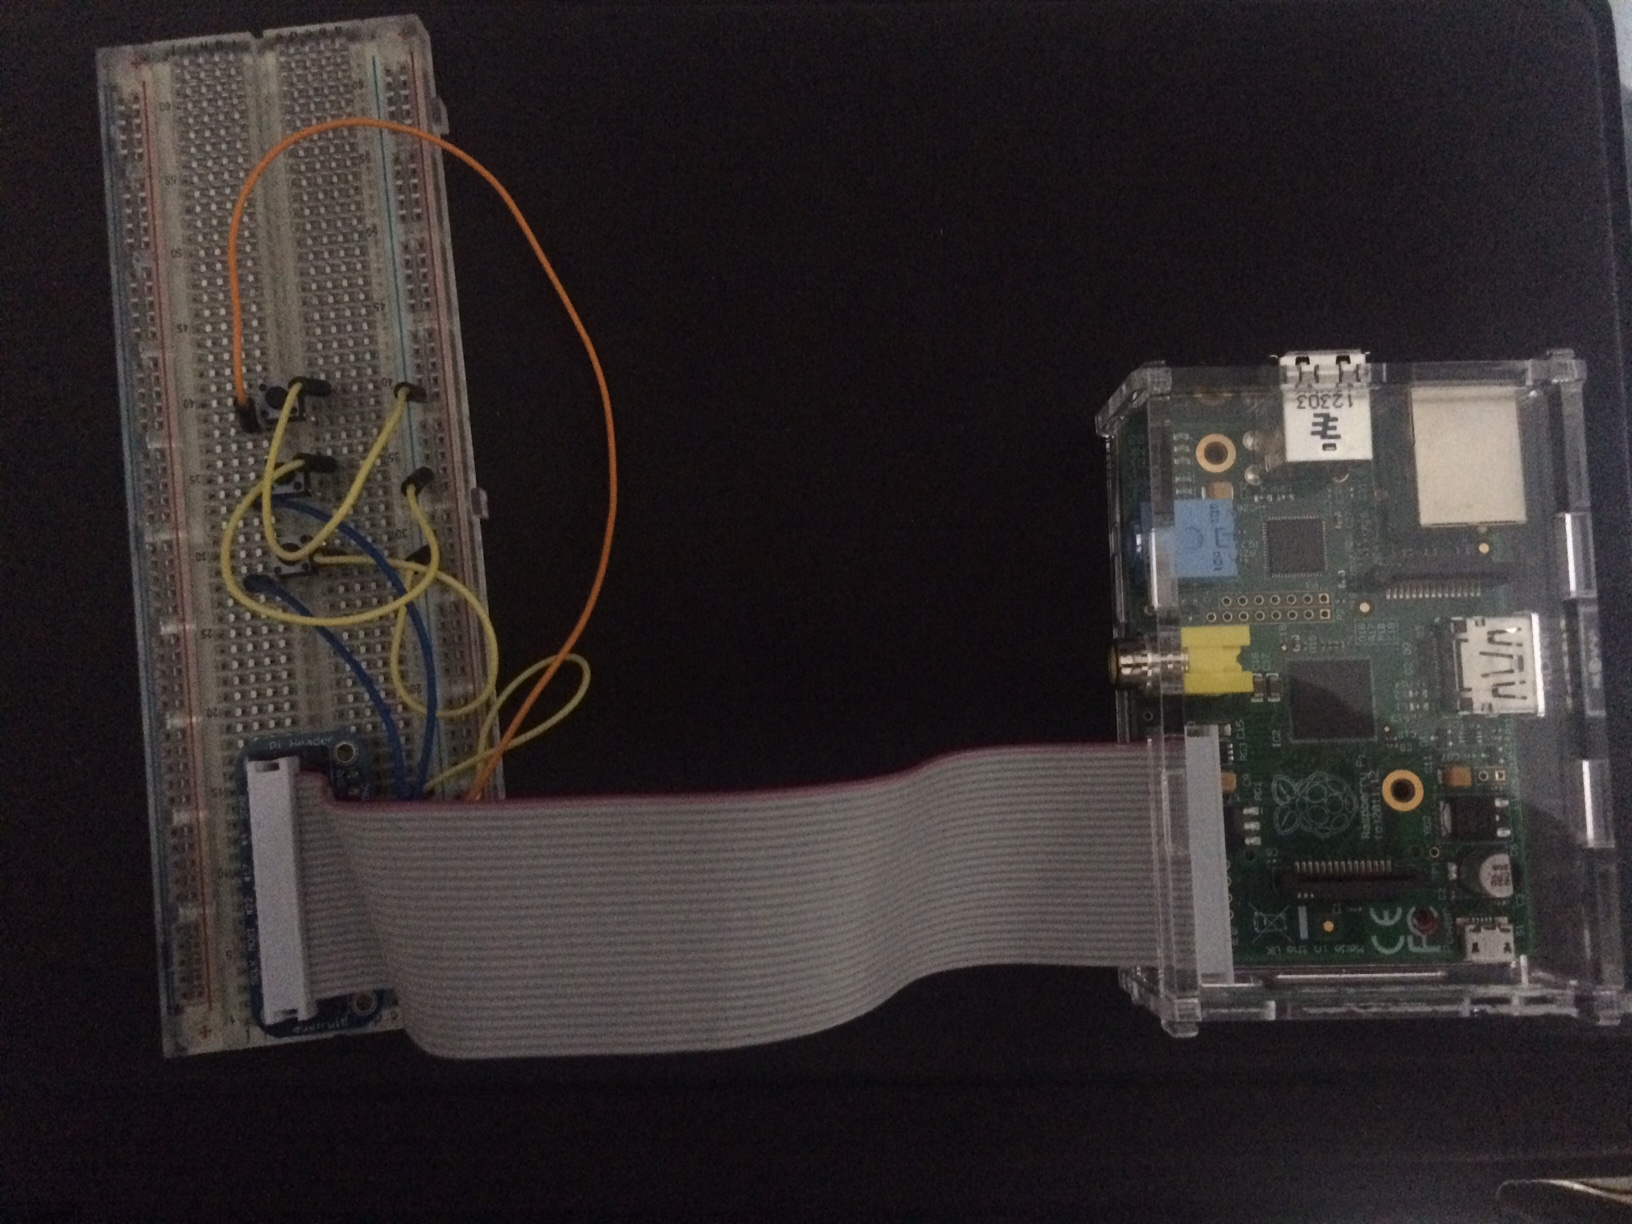
The first iteration was a simple Java using www.pi4j.org library to listen to buttons being pressed using the Java programming language. After lots of reading and some struggles with wiring my bread board, I got it to work. The first iteration of SDPF is shown here (click the image to zoom).
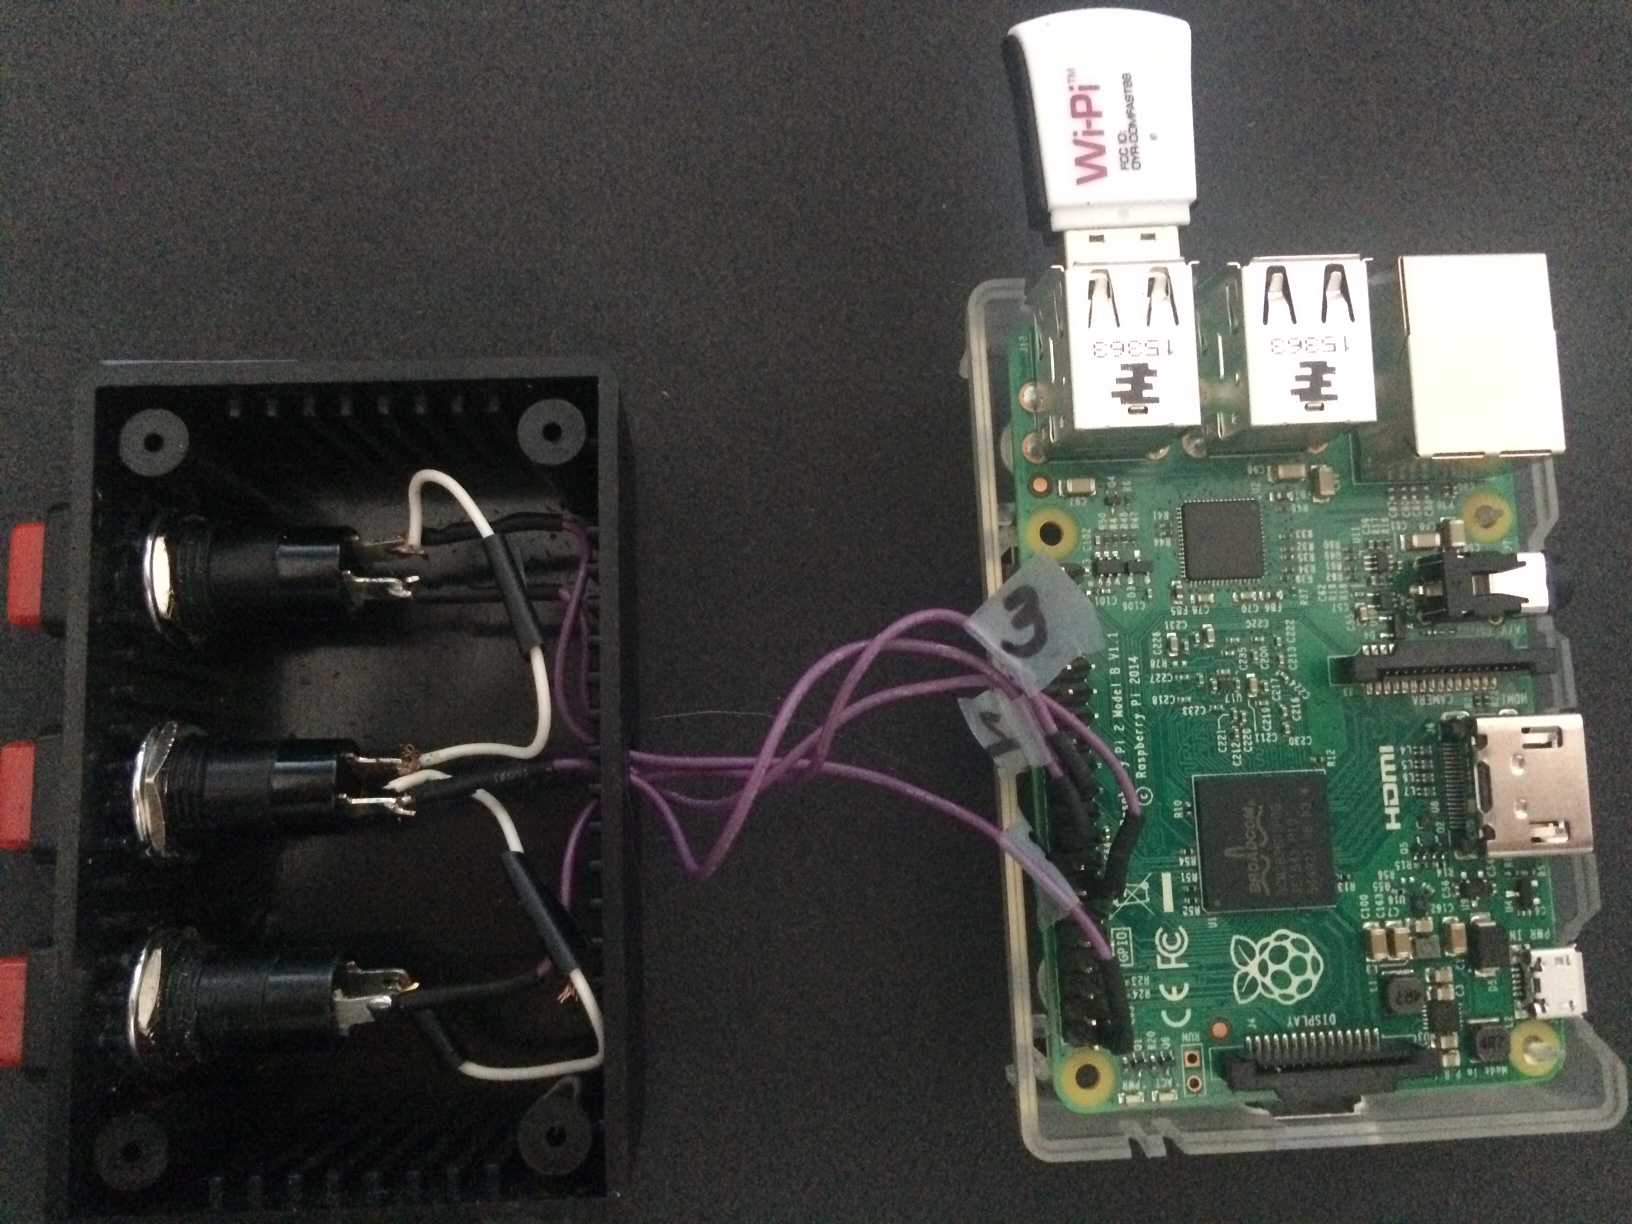
Next, I went to the electronic store to buy real buttons and a case that would look presentable in Lynn’s kitchen. And, that meant soldering. This is not my forte. I also wrote several programs to respond to the button pushes which drove individual programs to display the data. This was the easy part for me.
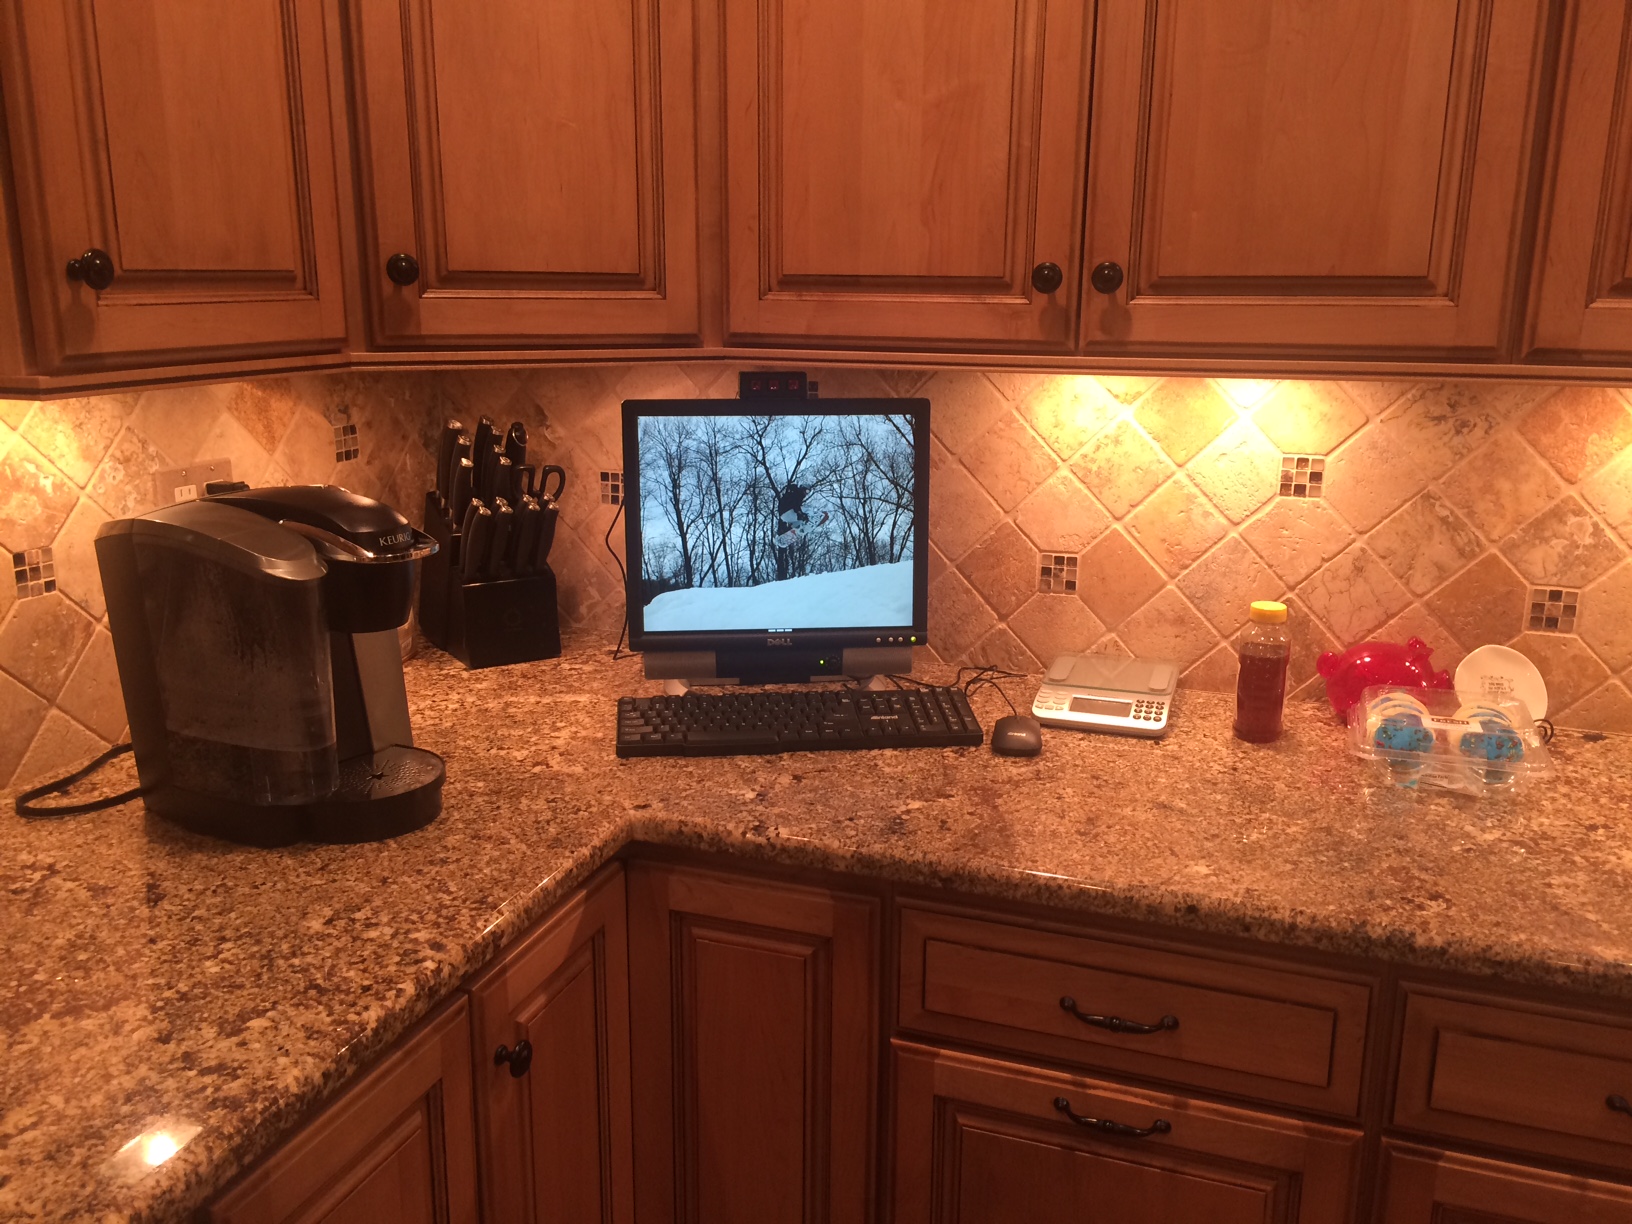
Finally, I bundled it all up and connected it to an old Dell monitor. And I must say, I’m very pleased with the results. We now have a Smarter Digital Picture Frame that’s super easy to use; just three buttons. 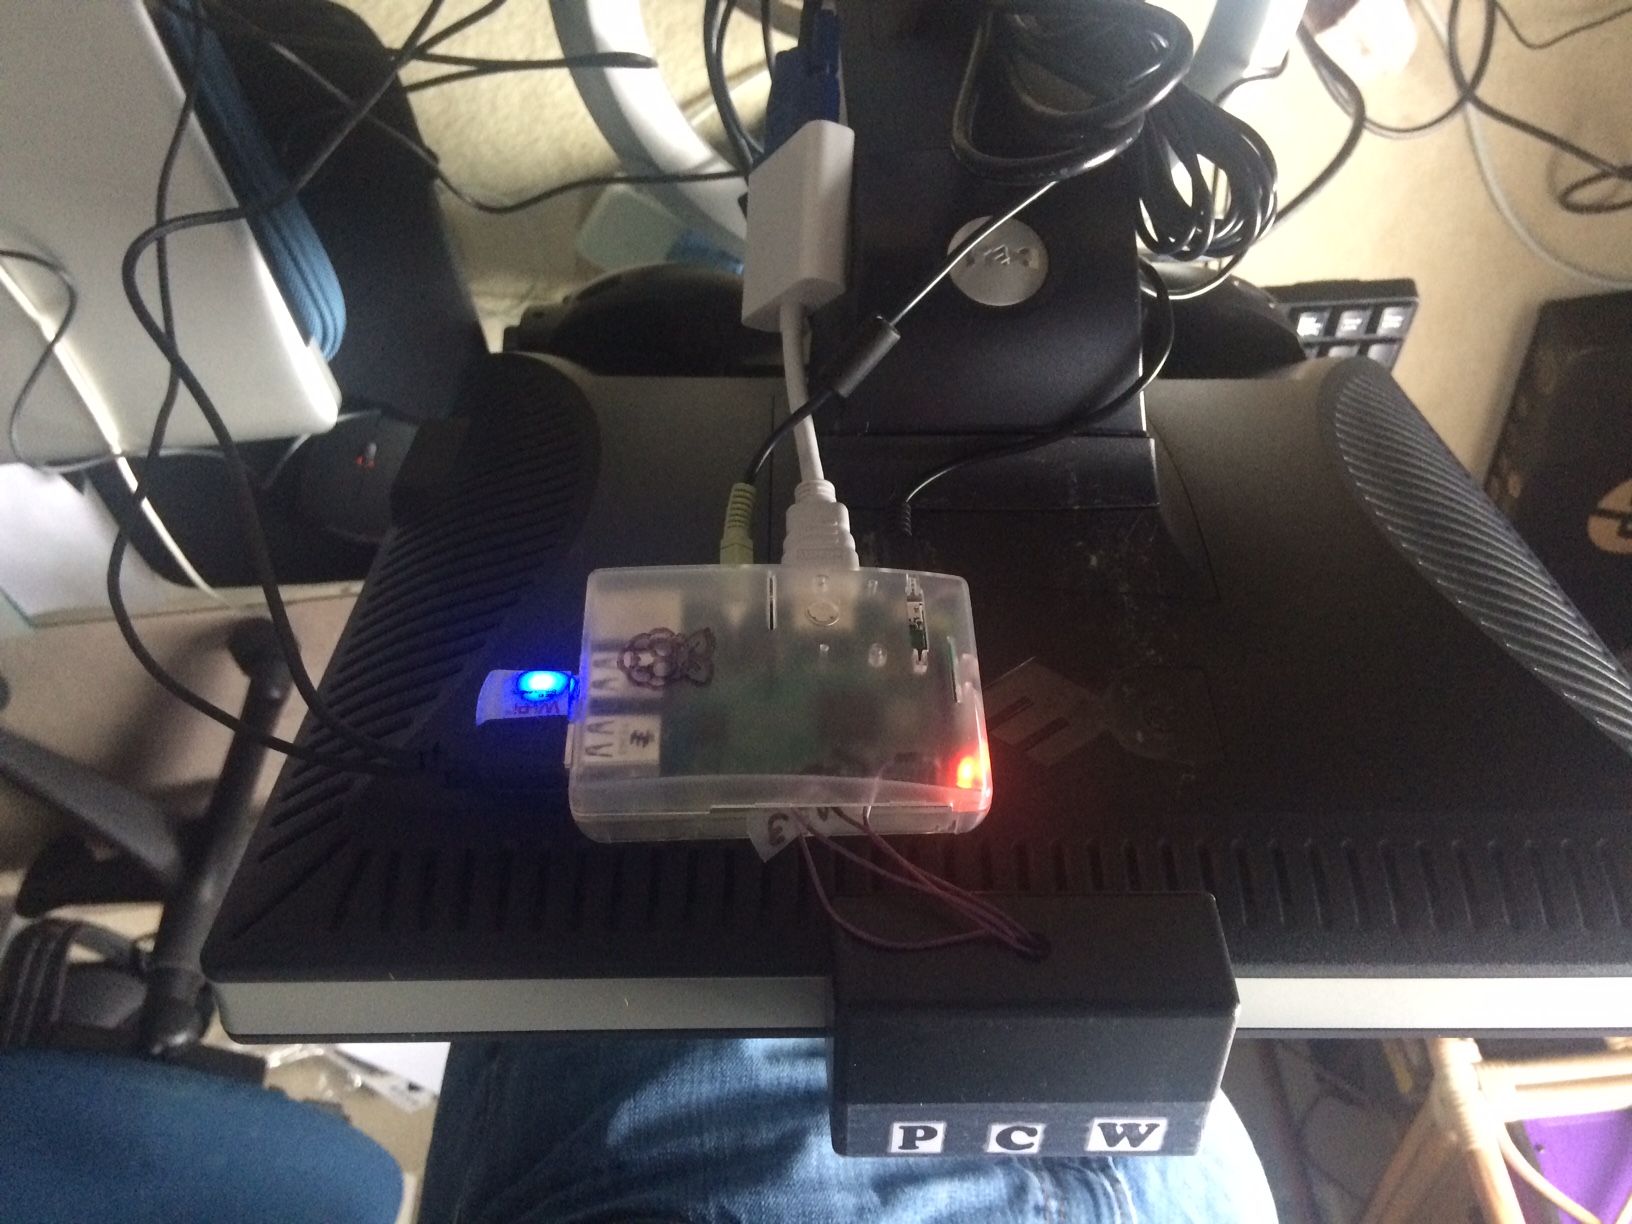

But we now have full access to the Internet sitting in the Kitchen for lots of purposes such as searching for recipes, sharing videos, or doing quick searches.
I’ve included source code here for anyone who wants to follow my footsteps.
SmarterDigitalPictureFrame
A sample is here:
import com.pi4j.io.gpio.GpioController;
import com.pi4j.io.gpio.GpioFactory;
import com.pi4j.io.gpio.GpioPinDigitalInput;
import com.pi4j.io.gpio.PinPullResistance;
import com.pi4j.io.gpio.PinState;
import com.pi4j.io.gpio.RaspiPin;
import com.pi4j.io.gpio.event.GpioPinDigitalStateChangeEvent;
import com.pi4j.io.gpio.event.GpioPinListenerDigital;


public class ImageSlideShow {

	private static ShowWeather showWeather;
	private static ShowCalendar showCalendar;
	private static ShowInterface showInterface;

    public static void main(String args[]) throws InterruptedException {

    	System.out.println("GPI Listener starting ");

	    // create gpio controller
	    final GpioController gpio = GpioFactory.getInstance();

        final GpioPinDigitalInput myButton1 = gpio.provisionDigitalInputPin(RaspiPin.GPIO_02, PinPullResistance.PULL_DOWN);

        // create and register gpio pin listener
        myButton1.addListener(new GpioPinListenerDigital() {
            @Override
            public void handleGpioPinDigitalStateChangeEvent(GpioPinDigitalStateChangeEvent event) {
                // display pin state on console
            	System.out.println(" --> GPIO PIN STATE CHANGE: " + event.getPin() + " = " + event.getState());
            	if (event.getState() == PinState.HIGH) {
	            	if (showCalendar != null) {
	            		showCalendar.close();
	            		showCalendar = null;
	            	}
	            	if (showInterface != null) {
	                	showInterface.close();
	                	showInterface = null;
	            	}
	            	if (showWeather == null)
	            		showWeather = new ShowWeather();
            	}
            }
        });

        final GpioPinDigitalInput myButton2 = gpio.provisionDigitalInputPin(RaspiPin.GPIO_05, PinPullResistance.PULL_DOWN);

        // create and register gpio pin listener
        myButton2.addListener(new GpioPinListenerDigital() {
            @Override
            public void handleGpioPinDigitalStateChangeEvent(GpioPinDigitalStateChangeEvent event) {
                // display pin state on console
            	System.out.println(" --> GPIO PIN STATE CHANGE: " + event.getPin() + " = " + event.getState());
            	if (event.getState() == PinState.HIGH) {
	            	if (showWeather != null) {
	            		showWeather.close();
	            		showWeather = null;
	            	}
	            	if (showInterface != null) {
	                	showInterface.close();
	                	showInterface = null;
	            	}
	             	if (showCalendar == null)
	            		showCalendar = new ShowCalendar();
            	}
            }
        });

        final GpioPinDigitalInput myButton3 = gpio.provisionDigitalInputPin(RaspiPin.GPIO_06, PinPullResistance.PULL_DOWN);

        // create and register gpio pin listener
        myButton3.addListener(new GpioPinListenerDigital() {
            @Override
            public void handleGpioPinDigitalStateChangeEvent(GpioPinDigitalStateChangeEvent event) {
                // display pin state on console
            	System.out.println(" --> GPIO PIN STATE CHANGE: " + event.getPin() + " = " + event.getState());
            	if (event.getState() == PinState.HIGH) {
	            	if (showWeather != null) {
	            		showWeather.close();
	            		showWeather = null;
	            	}
	            	if (showCalendar != null) {
	            		showCalendar.close();
	            		showCalendar = null;
	            	}
	             	if (showInterface == null)
	            		showInterface = new ShowInterface();
            	}
            }
        });

        System.out.println("Completed Setup and now listening.");

        for (;;) {
        	Thread.sleep(500);
        }
/*  This code is for testing code
        	Thread.sleep(1000);
        	showWeather = null;
        	showCalendar = null;
        	if (showInterface == null)
        		showInterface = new ShowInterface();
        	Thread.sleep(1000);
        	showWeather = null;
        	showInterface = null;
        	if (showCalendar == null)
        		showCalendar = new ShowCalendar();
        	Thread.sleep(1000);
        	showCalendar = null;
        	showInterface = null;
        	if (showWeather == null)
        		showWeather = new ShowWeather();
*/
	}

}